I came up with this project when my friend decided that for her wedding she wanted one large menu display.
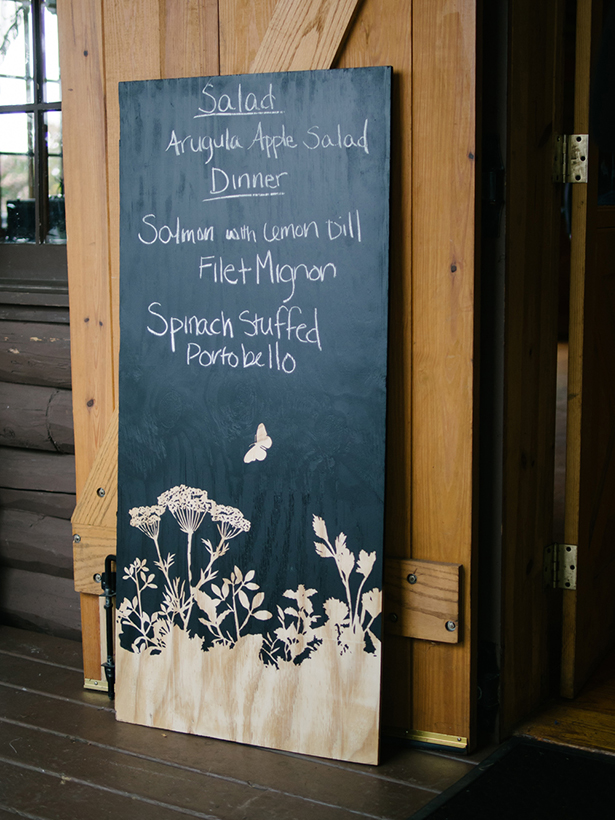
Photo courtesy 5 West Studios
Yes, chalkboards and chalkboard paint are everywhere these days. But I don’t care! I love chalkboard projects, and think they’re particularly amenable to weddings, where large, inexpensive and attractive custom decor pieces are hard to come by. If only I didn’t have lame handwriting and could do those awesome chalkboard drawings I see everywhere, it would really take this to the next level, but the ‘peek-a-boo’ effect of the wood under the black gives this a unique look that is easily customizable. Of course, I almost ruined that look completely when I accidentally bought “glow in the dark” chalk to write on it, and then tried to convince myself that it was totally acceptable (“That way everyone will be able to see what they’re getting for dinner! Even in the dark!”) before finally finding some normal chalk.
Disclaimer: I didn’t think this project would work. Which meant I took basically no process photos at all. Then, when it looked fantastic, I decided to do another, smaller chalkboard (the elephant one below) and take photos of my process there. However, because I was doing this the day before my friend’s wedding (NOT ADVISED), I wasn’t even that good about taking those photos. Still, this project is simple enough you don’t need too many process photos (I hope?).
Materials:
- Plywood (Lowes/Home Depot will cut this down for you, but only in the ‘against the grain’ direction)
- Chalkboard paint (spray or standard)
- Brush/roller and paint tray if using standard chalkboard paint (I prefer roller)
- Straight edge
- Can of spray glue (something that is not wood-specific; you don’t want it adhering too well to the wood)
- Clear packing tape
- Sandpaper (if your plywood is particularly splinter-riffic, like mine was)
Steps:
- Pick out your pattern/motif
- Blow it up on a copier/printer and tape it together as-needed
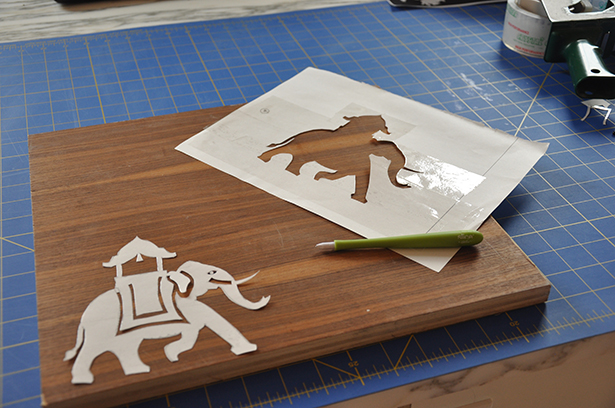
- Put clear packing tape over the “up” side of your paper pattern so that it covers the whole area you’re cutting out, making it “waterproof”. Here’s an example with my elephant pattern of the taped design:

- Cut out pattern using straight edge:
- Sand plywood (if necessary), and clean off all dust
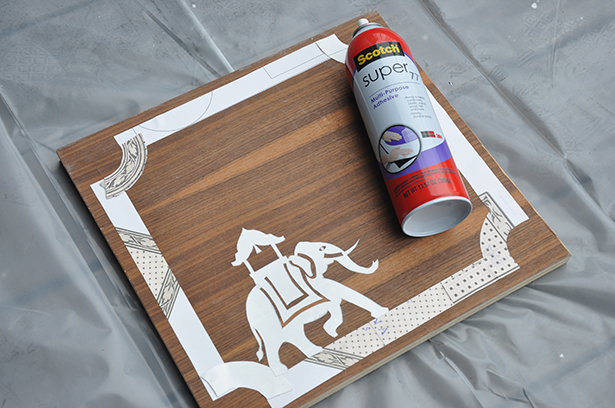
- Lightly spray glue the paper back of the cut out pattern
- Adhere pattern to plywood “waterproof” taped side out
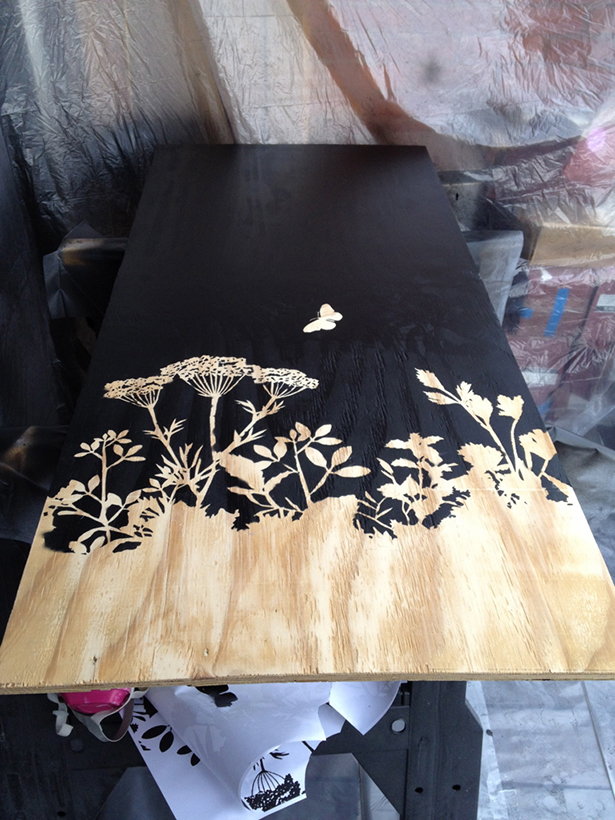
- Roll on the paint, being careful to go gently over the pattern so you don’t lift corners (if you use spray, you’ll likely need to do more than one coat)
- Let dry until tacky
- Pull up paper pattern
- Admire your awesomely huge chalkboard.
This pattern was easy to choose – I pulled it from my friend’s wedding invites, which had a lovely flowers and grass motif (from 3 Eggs Design on Etsy). There were probably all of three people at the wedding who recognized the pattern from the invites (earning my eternal respect), but those three were ALSO the only folks who realized this was something handmade approximately 24 hours before the wedding, because it looked that awesome.
So, a few adventures I went through and that you should learn from if you take on this project …
The hardest step is 1000% cutting the pattern out with the straight edge. I wouldn’t choose a pattern this intricate again, because it was a huge pain to cut out all those grassy little crannies. Basically I went from “ooh” and “ahh”-ing over the pretty pattern and happily nattering on about the upcoming wedding to grumping loudly about these “[expletive] weeds!” and stomping around during breaks ranting “I hope [friend] realizes how awesome I am to do this!” etc. Be warned.
For this chalkboard, I used the spray chalkboard paint because it was less expensive, and this was a lot of area. However, I learned here that spray chalkboard paint comes out thinner and shinier, which means it ultimately looks less like a nice matte chalkboard, requires more than one coat, and also makes less of a smooth writing surface. If you’re thinking of keeping the chalkboard after your wedding, I’d go with the good stuff.
Chalkboard paint dries really fast. Which is amazing. Whether spray or no, it seems to dry about 10x as fast as other paint, though I still let it sit overnight to be sure.
Originally, I thought I would use square dowels to ‘frame’ this along the sides, but ultimately, I liked being able to see the wood on the sides, and didn’t think it was necessary.
When buying the plywood, make sure it isn’t warped. A lot of the pieces at Lowes/Home Depot are incredibly wonky. Lean it up against something in store and see how it looks, since you’ll likely be propping it up at your wedding in similar fashion.
Questions? Ask them in the comments!


Leave a Comment