Hello, Fall!
Over the last 5 years or so, I’ve noticed that Fall weddings now outpace June weddings in my “everyone I know is getting married because I’m in my late 20s/early 30s” experience. Heck, I got married in September, myself. It makes sense – you don’t have quite the risk of high heat of a Summer wedding or risk of cold during a Spring wedding. And you can’t beat Autumn for inexpensive but appropriate décor.
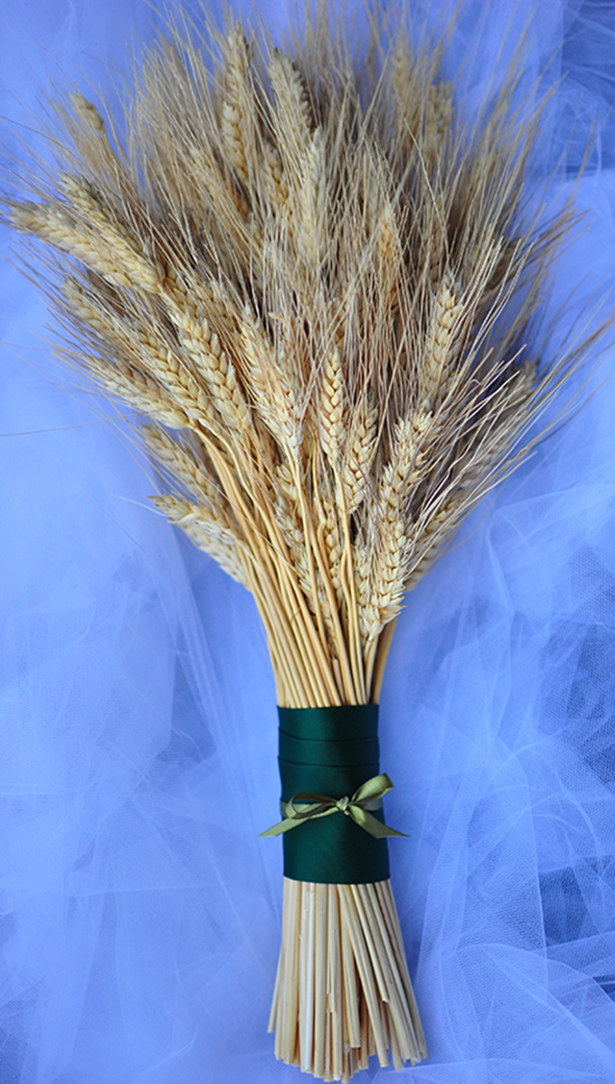
Exhibit A, a super easy wheat bouquet:
The best thing about this project is it’s 90% done for you on arrival. Yes, pardon the lighting on these how-to, below. It was around 10 p.m. when I took these photos under my kitchen lights. I felt so bad about how they look that in the morning I took the photo above just so you could see how pretty this is. People on blogs are always apologizing for their “terrible” photos that look about 10x better than my best photos. Someday, perhaps, I, too will get good enough at photography for false modesty, but that day is not today …
Steps are:
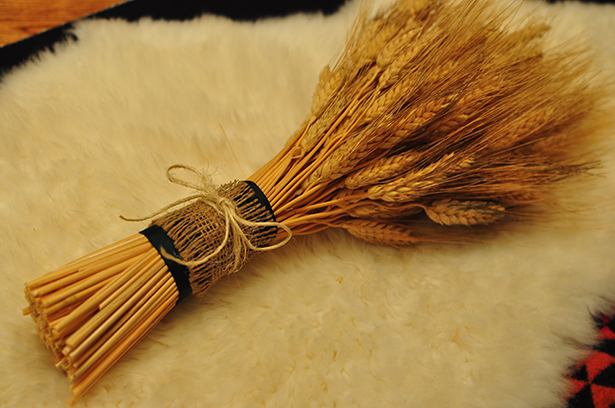
- Buy wheat bouquet ($8.99). It comes looking like this:
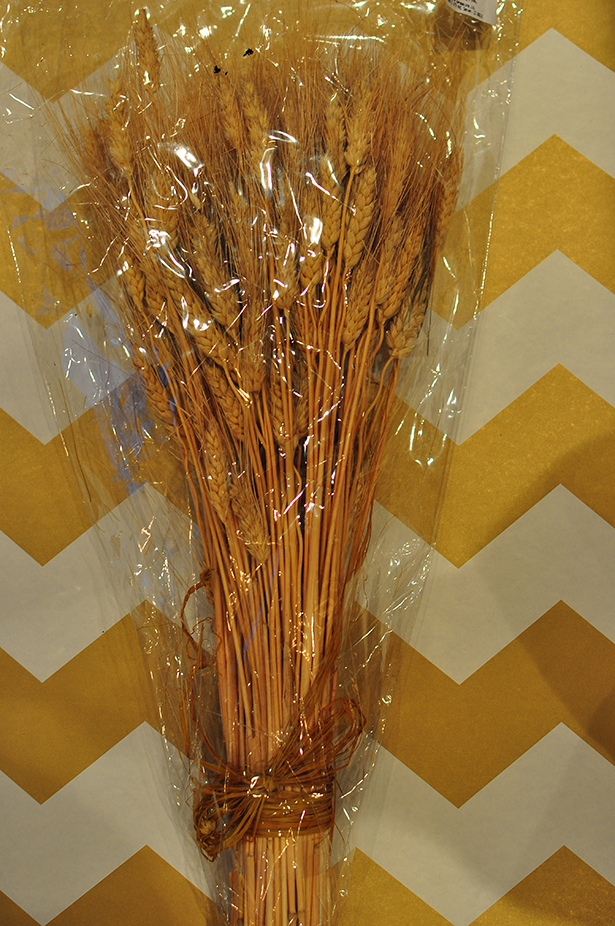
Yep, I know, you’re almost done already.
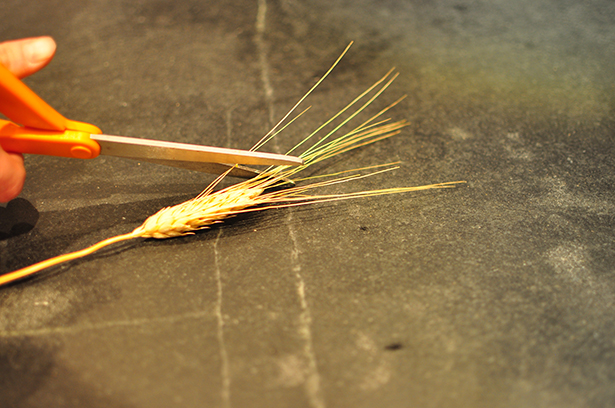
- Trim down stabby ends of wheat. This is optional, but wheat is surprisingly stabby. Like little needles, or more accurately porcupine quills – they stick to everything. Not great. So I cut them down a bit in an irregular pattern to look natural. Much better, and much less likely to hurt. Literally the hardest thing about this project for me was taking this photo while cutting these ends with my left hand so please enjoy …
- Use flower tape to wrap the stems tight. You’re better off keeping the shape of the bouquet as you received it on arrival. They do a great job with having all the stems aligned, you really just need to pull stems in the center up so that you get a nice overall cone shape to the bouquet. Hold in one hand, wrap tape around the other. If you’ve never used flower tape, it is a waxy tape that sticks to itself and is amazingly useful for bouquets.
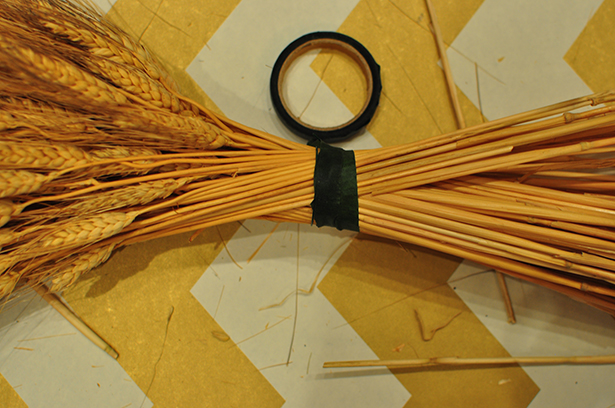
- Once wrapped, cut the bottom of the stems so that they are a manageable length – when you buy the stems are quite long – 20 to 24 inches.
- Wrap with whatever ribbon you’d like. Here’s some additional examples using the Williams & Sonoma dark green ribbon I have miles of from wedding presents. I’d call it ‘upcycling’ if (a) I didn’t hate the term ‘upcycling’ with an inexplicable loathing and (b) if it was possible to ‘upcycle’ anything, even the wrapping paper, from Williams & Sonoma. The wrapping paper from W&S probably costs more than this whole bouquet (why must I love you so much, W&S, with your beautiful cookbooks and amazing peppermint bark? Do you not want me to stay solvent? Or thin?). I used a healthy dab of hot glue to secure the green grosgrain, and otherwise just tied the burlap and the ribbon on.

Easy and beautiful for centerpieces or for a bride’s bouquet. You can use one bouquet for a bridal size, and split a bouquet from this supplier into two for smaller bridesmaids bouquets. The nice thing is, you don’t need anything more than wheat. It’s beautiful all on its own.


Leave a Comment