Okay, folks, here is one of my all-time favorite projects. It also survives the terrifying “Internet test” where I come up with something I think is original and super cool and then discover that approximately one million people have already done it (I’m looking at you, ANYTHING using chalkboard paint …) . First, I’ll reel you in with pretty pictures.
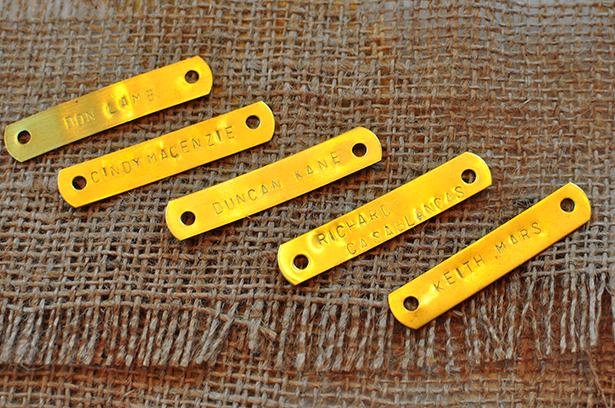
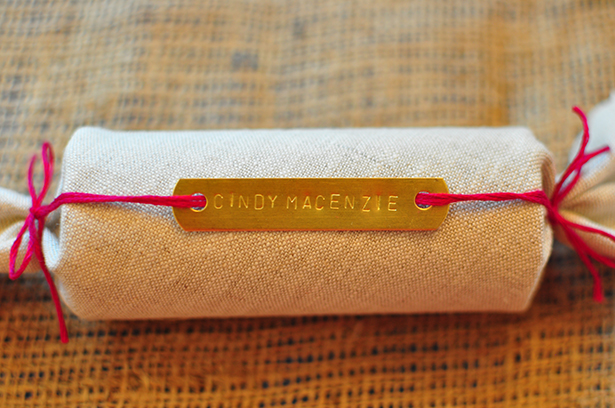
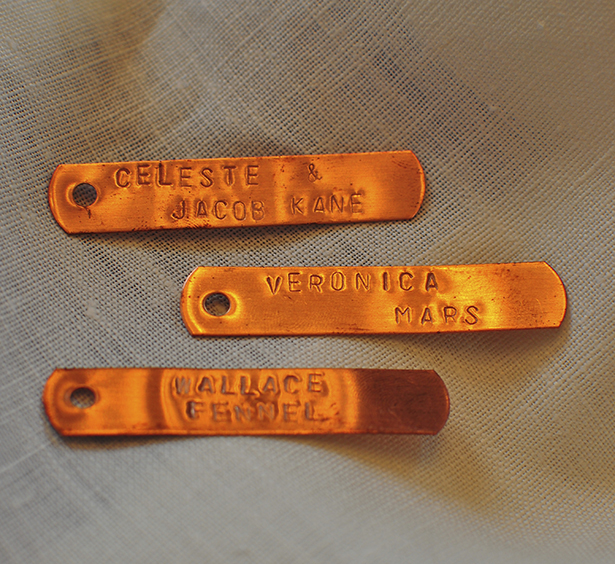
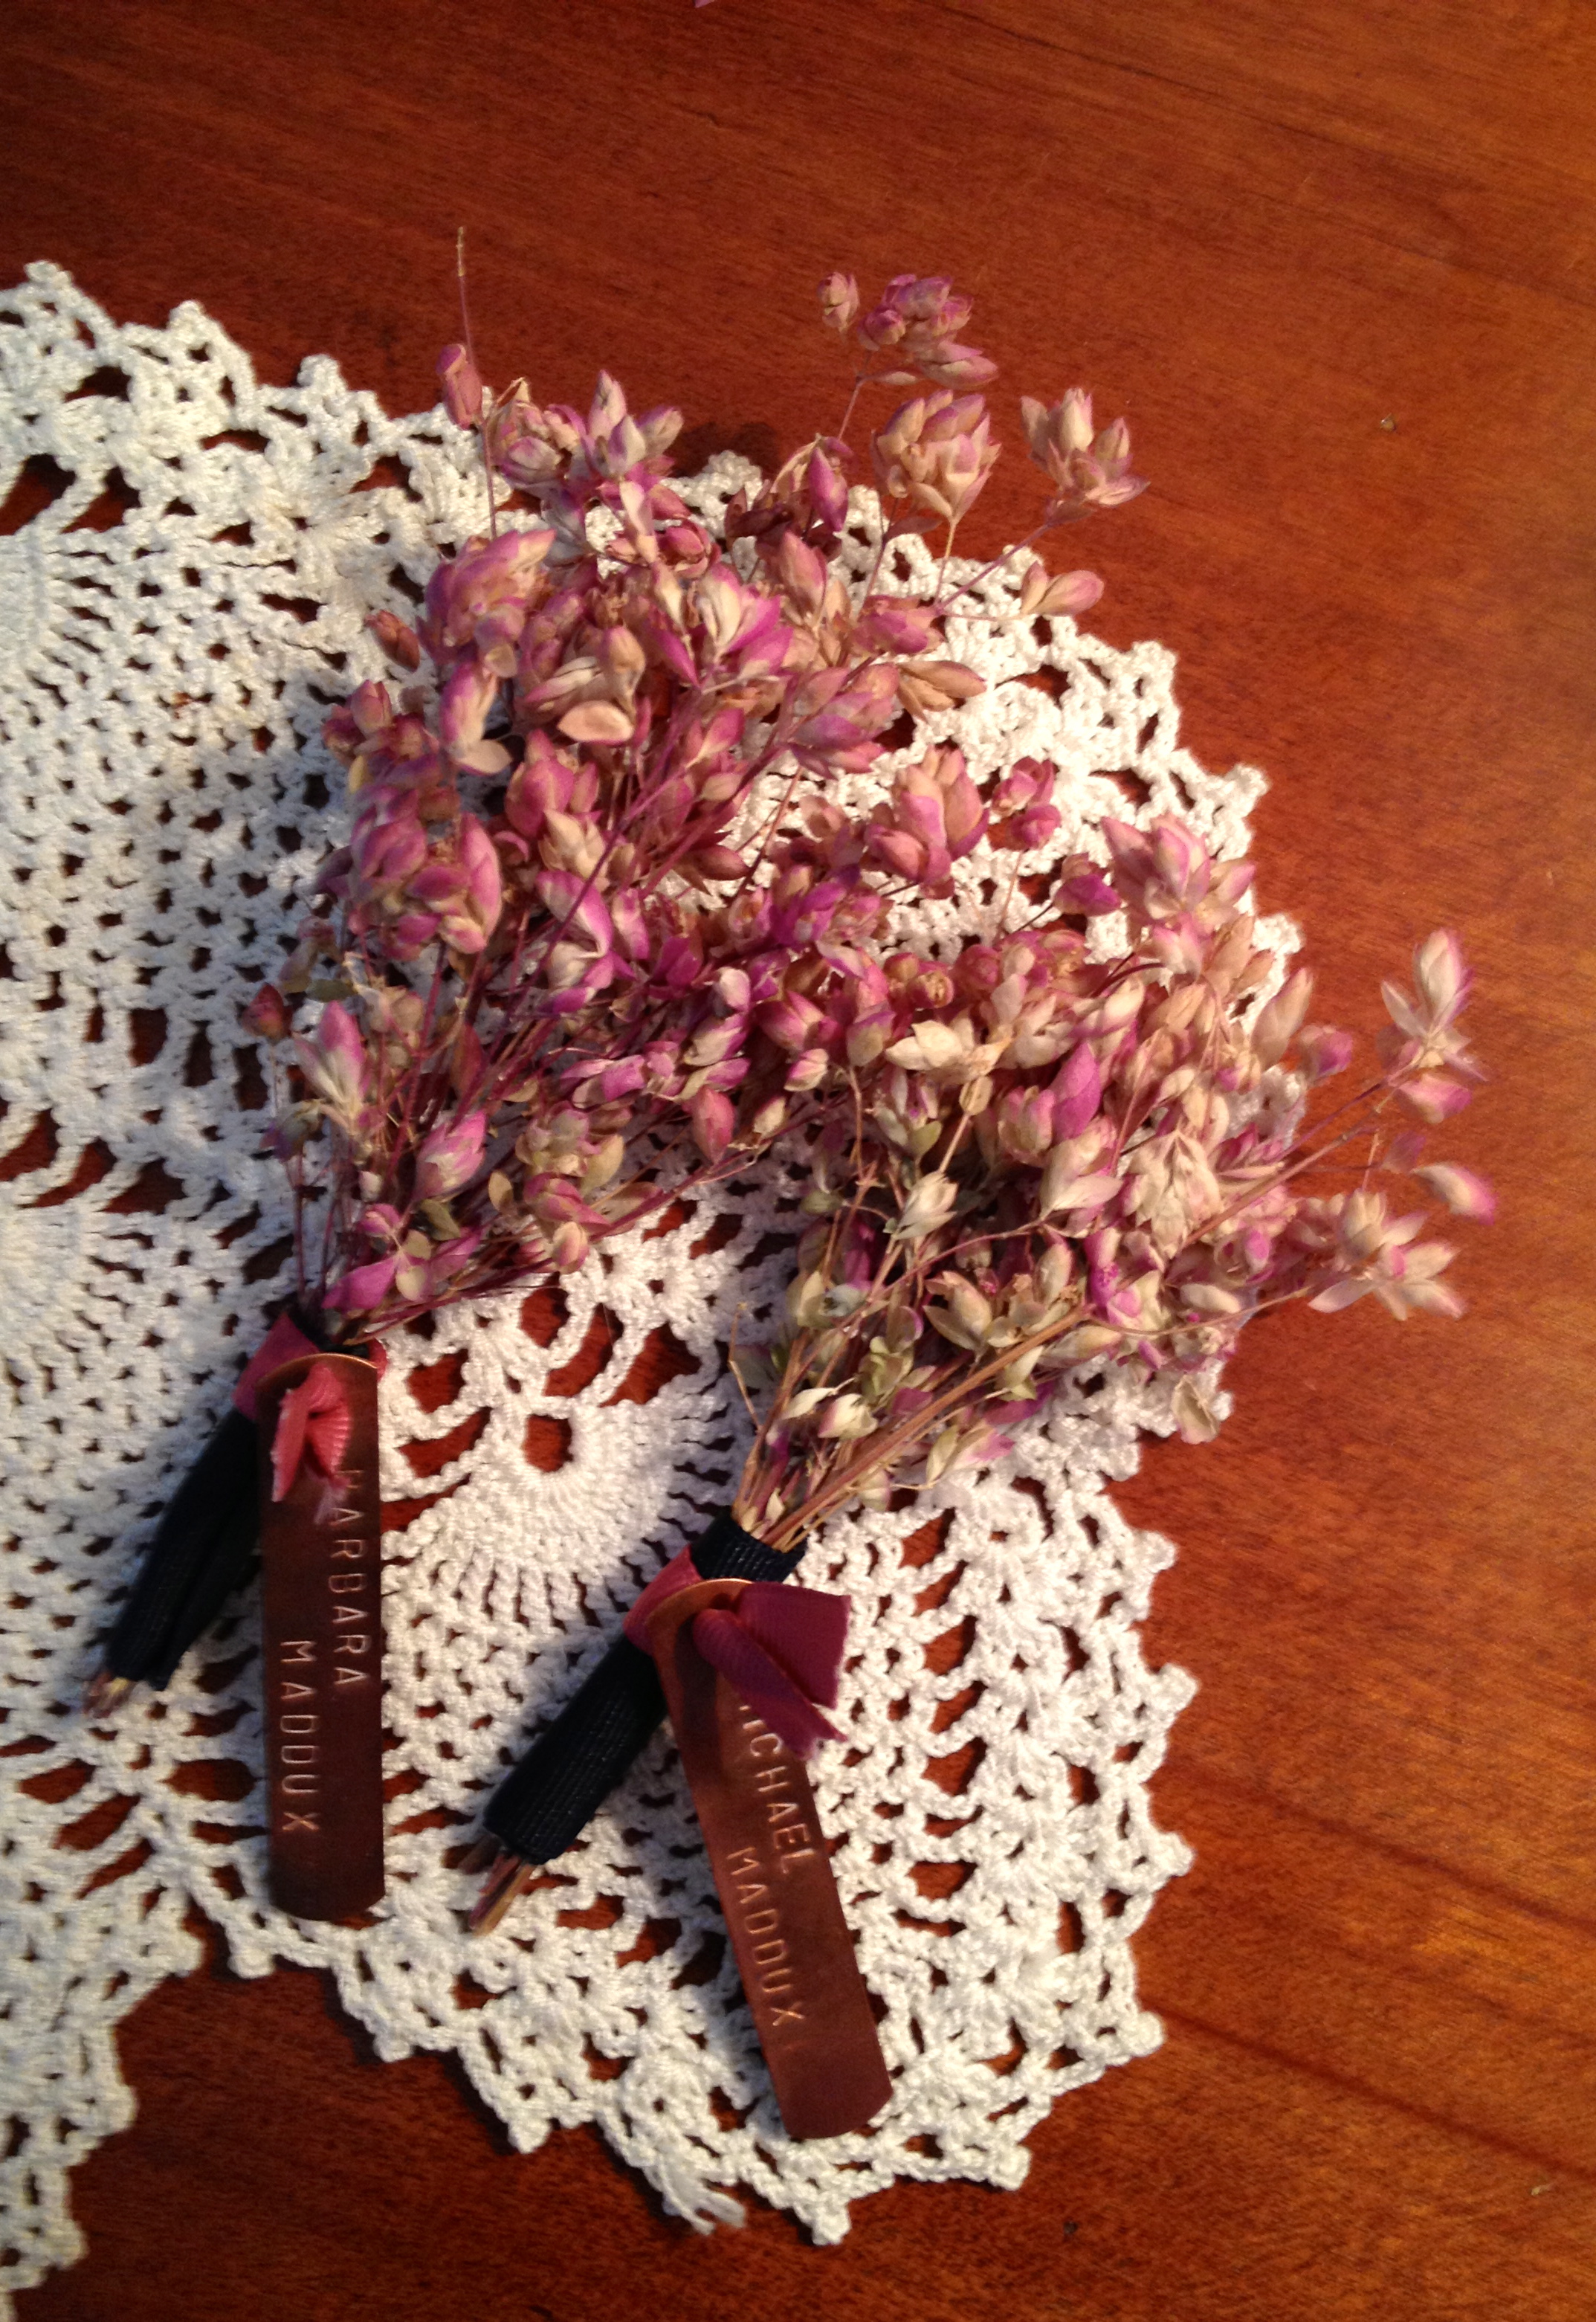
The secret to my originality? Plumbing supplies. That’s right. If you want uniqueness in your wedding you have to delve deep, and that’s where I dug up these inexpensive and easily stamped brass and copper tags. Shiny, pretty and cheap. Can’t beat that! I suggest attaching them to different objects that coordinate to your tables – types of shells or flowers, for example (future posts to give you some ideas)!
Now, a warning, reader. This project is not for the faint of heart! It takes some practice to get decent at using the metal stamp set, and this is not exactly a “quiet” project, what with the hammering metal on a hard surface. Please do not do this on a countertop – I don’t want to be blamed for dings in your granite or tile. If you’re having 200+ guests, I can’t in good conscience recommend it. I did it for a wedding of 70 and it was reasonable. I’d think up to 100, you’d still be safe. More than that? You may be cursing my name.
For this project, do not let the perfect be the enemy of the good! A little crookedness here and there, a little unevenness in depth, all add to the bespoke look. And honestly, your guests will notice and remember the shiny and their “how did they do this?” reaction before they ever think to themselves, “hmm, that ‘S’ is just a little crooked.” Trust me on this one. Shiny wins over everything, and everyone loves something with his or her name on it. I even had people put these on their key chains post-wedding!
So, onward to the nitty gritty!
You will need:
- Copper or brass tags – your choice. I got them here – http://www.traptags.com – you can choose to have one or two holes pre-stamped in them. $16.50 for 100, which is somehow cheaper than paper seating cards!
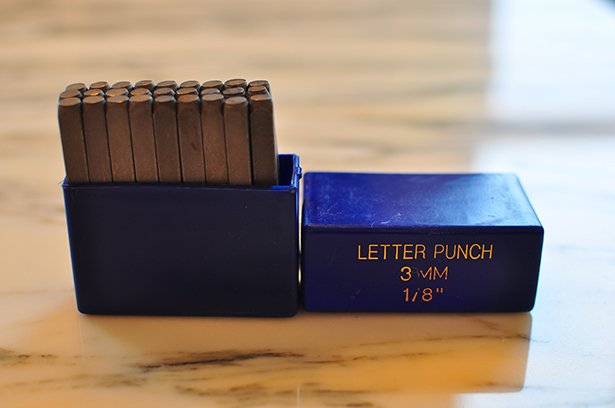
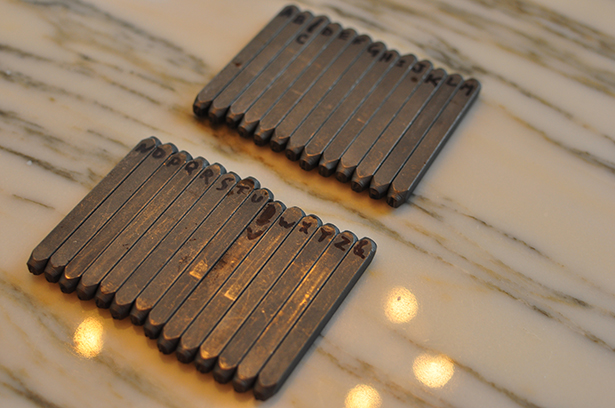
- Metal stamping set. I got mine here – http://www.globalindustrial.com/p/metalworking-tools/metal-fabrication/shop-arbor-presses/332-import-27-pc-letter-steel-stamp-set?infoParam.campaignId=T9F&gclid=CIb6w9rNzrwCFbB9Ogodi14AiA – for $17.50. There are lots of others with different fonts, though, if you give the Internet a search for “metal stamp kit.” The fancier the font, the pricier the kit. Some even come with adorable tiny hammers, but your run-of-the-mill hammer is all you really need.
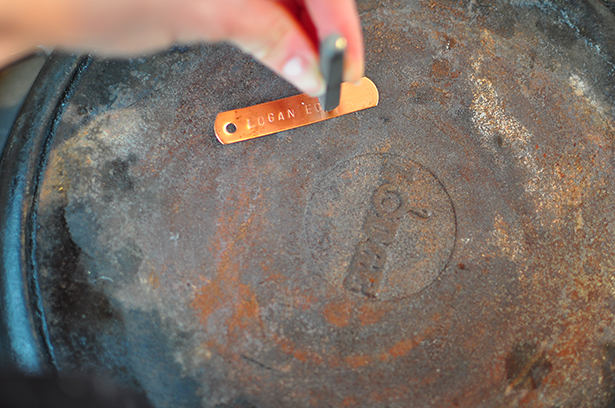
- Stamping surface. I used a cast iron skillet upside-down set on an older table. This gives a much nicer depth to the letters than anything else.
- Hammer.
Steps:
1) Mark your kit so that you know which way the letters face. I took a Sharpie and marked each letter such that the written letter faced me, so I didn’t get upside-down or backward letters.
2) Approximate where name should start and end. This depends on the number of letters. Some names will be long enough that you will want to have on two separate lines.
3) Stamp guest name, letter by letter, on metal surface. I found one decisive tap with the hammer was the most effective. Multiple taps sometimes caused the stamp to bounce around and give a ‘double stamp’ look. And if there’s one thing Dumb and Dumber taught us, it’s that you can’t triple stamp a double stamp. It just looks terrible.
I found the easiest way to do this was gradually, in advance, and once done with a slug, to thread a dowel through the holes and tie with a rubber band to keep all organized in alphabetical order.
Happy stamping!


Leave a Comment